GHCVM (JVM backend for GHC) is now ready to be used for Minecraft moding. The post should help you to setup a minimum development environment for a Haskell based mod.
Prerequisites
I expect that you run a GNU/Linux system, but other systems experience shouldn’t differ a lot. If you run into any problems, you can post them in:
comments for the post for tutorial specific questions.
ghcvm issue tracker or chat for issues with GHCVM implementation.
GHCVM installation
Follow the official GHCVM guide. You should end up with ghcvm and cabalvm executables on your PATH environment variable.
$ ghcvm --version
Glasgow Haskell Compiler for the Java Virtual Machine, version 0.0.1
$ cabalvm --version
cabal-install version 1.22.9.0
using version 1.22.8.0 of the Cabal library
Forge environment setup
Now we need a minimal Minecraft Forge developer environment. Go to the official site of Forge and download the latest Mdk archive.
Extract it somewhere, for instance forge folder:
unzip forge-1.10.2-12.18.2.2099-mdk.zip -d forgeCreate a new folder for your personal mod, lets call it hello, and copy the following files from unpacked forge archive:
build.gradle- defines how to build and run your mod with gradle Java tool.gradlefolder with gradle tool itself.gradlewandgradlew.batscripts for running the local gradle.src- folder with Java sources of your mod.
Also you can copy eclipse folder if you desire to use the IDE and copy license files to respect legal issues.
Finally, lets bootstrap it:
./gradlew setupDecompWorkspace
./gradlew runClient
After the last command a MC client should start with Forge and dummy mod.
Adding Haskell part
We are comming to part where the tutorial differs from common way to mod MC. Lets init Haskell subproject:
cd src/main
mkdir haskell
cd haskell
cabalvm init
Next answer some simple questions about “what’s your name?”, “what’s your purpose?”. You can answer whatever you like, but for some of them the tutorial expects the following answers:
Package name? [default: main] hello
....
What does the package build:
   1) Library
   2) Executable
Your choice? 2
....
Source directory:
 * 1) (none)
   2) src
   3) Other (specify)
Your choice? [default: (none)] 2
The executable option is important as cabalvm will collect all dependencies alongside with your app and pack them in one mega jar. That can save you a bundle of nerves in near future. Although we are not going to use main method of the executable at all.
Now we create the Main module of mentioned dummy executable. Put the following in new file src/Main.hs:
module Main where

main :: IO ()
main = return ()
Now we need a module for global Java exports, put the following into src/Export.hs:
{-# LANGUAGE MagicHash #-}
module Export where

import GHC.Base
import GHC.Pack

-- | Our first mod will greet a player on chat command
--
-- `Java class a` is special monad that works in context of Java class `class` and
-- returns type `a`.
--
-- So the type says: This is a method with single string argument that is located in
-- `Export` Java class and returns another string.
--
sayHello :: JString -> Java Export JString
sayHello n = return . mkJString $ "Hello, " ++ unpackCString n ++ "!"

-- The following line tells GHCVM to create Java class `Export`
-- at package `hello`. We will use it as some sort of interface to Haskell world.
data {-# CLASS "hello.Export" #-} Export = Export (Object# Export)

-- Generate export wrapper that evaluates Haskell thunks
--
-- This will add actual `public String sayHello(String arg)` method to `Export`
-- Java class. The method will encapsulate all magic that one need to pull values
-- out to Java side.
foreign export java sayHello :: JString -> Java Export JString
And add Export module to other-modules in hello.cabal:
-- ...

executable hello
  main-is:             Main.hs
  other-modules:       Export

-- ...
Check that cabalvm can build Haskell jar:
$ cabalvm build
Package has never been configured. Configuring with default flags. If this
fails, please run configure manually.
Warning: The package list for 'hackage.haskell.org' does not exist. Run 'cabal
update' to download it.
Resolving dependencies...
Configuring hello-0.1.0.0...
Building hello-0.1.0.0...
Preprocessing executable 'hello' for hello-0.1.0.0...
[1 of 2] Compiling Main             ( src/Main.hs, dist/build/hello/hello-tmp/Main.jar )
[2 of 2] Compiling Export           ( src/Export.hs, dist/build/hello/hello-tmp/Export.jar )
Linking dist/build/hello/hello.jar ...
Add Haskell dependency
So far we have a compiled Haskell jar file located at src/main/haskell/dist/build/hello/hello.jar and it would be nice to link it to our Minecraft application.
First, find dependencies section and add make it look as follows:
configurations {
    embed
    compile.extendsFrom(embed)
}

dependencies {
    embed fileTree(dir: 'libs', include: ['*.jar'])

    // here is a huge comment block
}
Gradle will add all libs/*.jar to our .classpath at build and start. Next, add Haskell rebuild task to the end of build.gradle:
task compileHaskell(type:Exec) {
    workingDir "src/main/haskell"
    commandLine "cabalvm", "build"
}

task copyHaskellJar(type: Copy) {
    dependsOn compileHaskell
    from 'src/main/haskell/dist/build/hello/hello.jar'
    into 'libs'
}

tasks.build.dependsOn(copyHaskellJar)

jar {
    from configurations.embed.collect { it.isDirectory() ? it : zipTree(it) }
}
Now you can manually call:
./gradlew copyHaskellJarOr simply run:
./gradlew buildAnd your Haskell part will be recompiled and copied in dependency folder automatically! Important note that Haskell compiled classes will be copied in resulting jar of the mod. It will cause conflicts if an user uses several Haskell mods.
Use
librarybuild for Haskell project, that will generate slim jar without embeded libraries.Copy all dependencies into
/libsfolder or you will getClassNotFoundexceptions. At the moment you have to collect them manually from~/.cabalvmdirectory.Use
buildconfiguration atgradle.build:dependencies { build fileTree(dir: 'libs', include: ['*.jar']) }- Distribute all dependencies separately alongside with your mod jar.
Call Haskell from Java
The last step is left, we need to call our gorgeous sayHello function in response to chat command \hello <name>.
First, we need to initialise our hello.Export class and place at some global scope. Edit src/main/java/com/example/examplemod/ExampleMod.java:
package com.example.examplemod;

import ghcvm.runtime.*;
import hello.Export;
import net.minecraft.init.Blocks;
import net.minecraftforge.fml.common.event.FMLServerStartingEvent;
import net.minecraftforge.fml.common.Mod.EventHandler;
import net.minecraftforge.fml.common.Mod;

@Mod(modid = ExampleMod.MODID, version = ExampleMod.VERSION)
public class ExampleMod
{
    public static final String MODID = "examplemod";
    public static final String VERSION = "1.0";
    public static final Export HASKELL;

    static {
      // We need to init Haskell RTS once
      Rts.hsInit(new String[0], RtsConfig.getDefault());
      // Create our class with exported Haskell functions
      HASKELL = new Export();
    }

    @EventHandler
    public void serverLoad(FMLServerStartingEvent event) {
        event.registerServerCommand(new CommandHello());
    }
}
Finally, create new CommandHello.java class at src/main/java/com/example/examplemod folder:
package com.example.examplemod;
import java.util.ArrayList;
import java.util.List;
import javax.annotation.Nullable;
import net.minecraft.command.CommandException;
import net.minecraft.command.ICommand;
import net.minecraft.command.ICommandSender;
import net.minecraft.server.MinecraftServer;
import net.minecraft.util.math.BlockPos;
import net.minecraft.util.text.TextComponentString;
import net.minecraft.world.World;
public class CommandHello implements ICommand {
private final List aliases;
public CommandHello() {
aliases = new ArrayList();
aliases.add("hello");
}
@Override
public String getCommandName() {
return "hello";
}
@Override
public String getCommandUsage(ICommandSender sender) {
return "hello name";
}
@Override
public List<String> getCommandAliases() {
return this.aliases;
}
@Override
public void execute(MinecraftServer server, ICommandSender sender, String[] args)
throws CommandException
{
World world = sender.getEntityWorld();
if (!world.isRemote && args.length > 0) {
String v = ExampleMod.HASKELL.sayHello(args[0]);
sender.addChatMessage(new TextComponentString(v));
}
}
@Override
public boolean checkPermission(MinecraftServer server, ICommandSender sender) {
return true;
}
@Override
public List<String> getTabCompletionOptions(MinecraftServer server
, ICommandSender sender
, String[] args
, @Nullable BlockPos pos)
{
return new ArrayList();
}
@Override
public boolean isUsernameIndex(String[] args, int index) {
return false;
}
@Override
public int compareTo(ICommand iCommand) {
return 0;
}
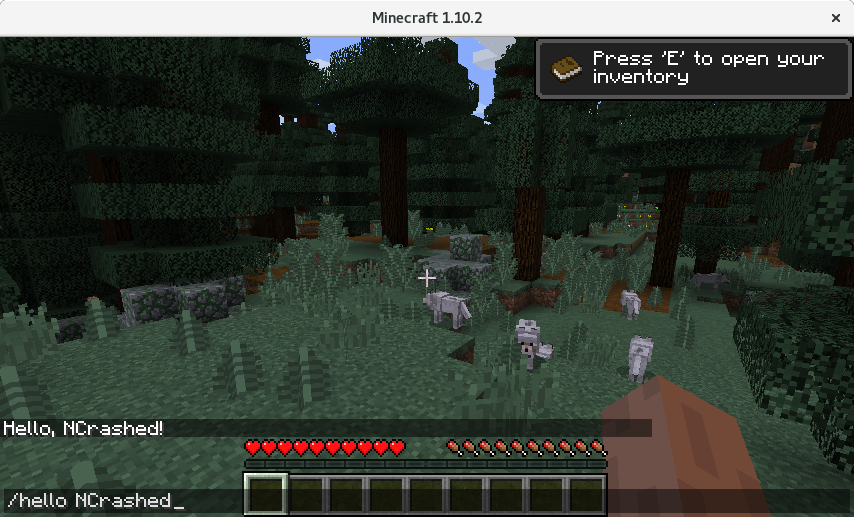
}Thats all, run ./gradlew runClient and you now able to say “Hello” from Haskell!
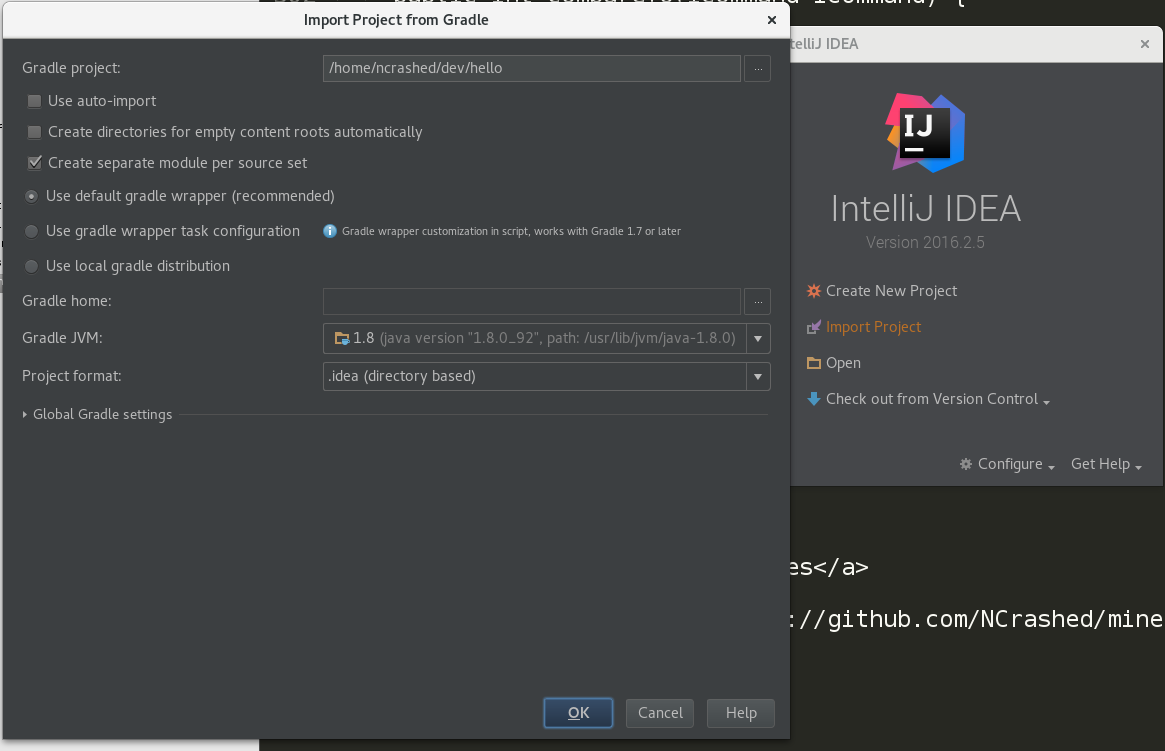
Setup IntelliJ IDEA
You can develop with IntelliJ IDEA. Import the local build.gradle as gradle project at IDEA startup screen.
And generate run targets for it:
./gradlew genIntellijRunsAlso you can run into the following problem while trying to run the mod from IDEA:
Exception in thread "main" java.lang.ClassNotFoundException: GradleStart
  at java.net.URLClassLoader.findClass(URLClassLoader.java:381)
  at java.lang.ClassLoader.loadClass(ClassLoader.java:424)
  at sun.misc.Launcher$AppClassLoader.loadClass(Launcher.java:331)
  at java.lang.ClassLoader.loadClass(ClassLoader.java:357)
  at java.lang.Class.forName0(Native Method)
  at java.lang.Class.forName(Class.java:264)
You need to change classpath module to hello_main in run configuration edit dialog: 
References
Assembled project repo
Full guide for Minecraft Forge.
GHCVM documentation. Note that is work in progress and will be extended shortly.